Thursday, February 10, 2011

Curried Lentil Soup


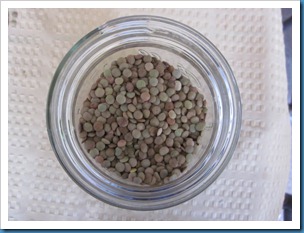
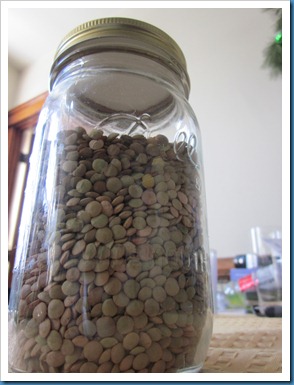
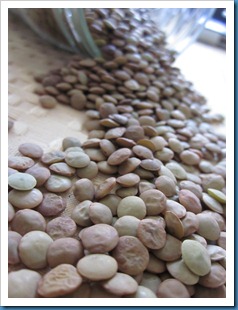
Jar of lentils, meet blog readers.

Blog readers, Meet my jar of lentils


IMG_1208

Yes, it really is that mighty looking in person, and yes it really does tower over the highest sky scrapers.

There are a number of reasons why I have a jar of lentils that could feed 100 men. Let me list a few in single world explanations.

  • protein
  • budget
  • excuse to use jar (damn that’s 4)
  • protein
  • awesome?

Ok that was kind of lame…

The point is, when I stopped eating meat, about every time I talked to my mom she made sure to tell me that I need to make sure I’m eating protein, and that plant based forms of protein often require mixing sources to form “complete proteins” such as rice and beans (by the way this is vegetarian 101 right now). Well mom, I listen to you (crazy right?).

Lentils are an excellent solution to the protein problem. Not to mention they’re cheap, they last forever, they’re healthy, and when you cook with them you end up making about 4x as much food as you thought you would because lentils go a lonnnnnnnggg way.

Moral of the story? Lentils are a vegetarian student’s best friend.

Still paying attention? The recipe is coming, I promise.

The problem with lentils? Most people have NO idea what to do with them!

BUT with a few simple ingredients you can make this delicious Curried Lentil Soup!

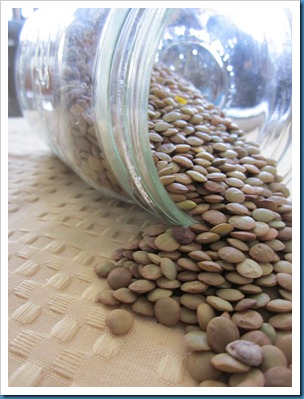
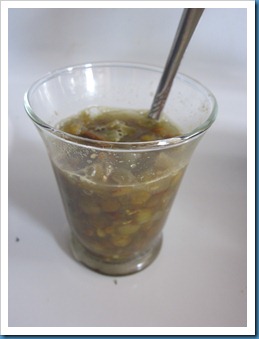
It’s warm, it’s happy, it’s easy, it’s cheap, it “warms your heart” as one of my friends puts it. It’s also really ugly, so I’m going to distract you with more pictures of my jar of lentils.

IMG_1200

Curried Lentil Soup

Adapted from Oh She Glows

Ingredients:

  • 2 tablespoons olive oil, divided IMG_1205
  • 1 medium-large onion
  • 1 large carrot, chopped
  • 2 large garlic cloves, finely chopped
  • 1.5-2 tablespoons curry powder
  • 1 cup uncooked green lentils, rinsed and picked over
  • 4 cups water
  • 1 tablespoon fresh lemon juice
  • Kosher salt & black pepper, to taste
  • 1 lemon, cut into 6 wedges

Directions:

1. Heat olive oil in heavy large skillet or pot over medium heat. Add chopped onion, optional celery, and carrot and sprinkle with salt and pepper. Cook until onion is translucent, stirring occasionally, about 5 minutes or so.

2. Add finely chopped garlic and stir until vegetables are soft but not brown, about 5 minutes longer. Reduce heat if necessary to avoid burning.

3. Add curry powder. I started with 1.5 tablespoons. Now, add the rinsed uncooked lentils and 4 cups water. Season with a sprinkle of kosher salt and pepper, add in lemon juice, and bring to a boil. Reduce heat to medium and simmer until lentils are tender, about 30 minutes.

4. When lentils are tender, I poured about half of the soup into my blender and I blended the soup for a minute. I did this to create a very thick texture. After blending, stir the soup back into the skillet/pot and you will have a very thick soup with some chunky pieces left from the soup you did not process.

5. Season to taste with salt, pepper, and additional curry powder, if desired. Sprinkle with thinly sliced green onions and serve with lemon wedges.

Makes about 4-5 cups.

IMG_1210

Seriously good stuff. I made this last night. LAST NIGHT! That’s how excited I am to share this with you! I never post that fast! Give it a shot. Winter is cold. This soup is not.


IMG_1199

Happy lentil cooking!

-Leah

Thursday, February 3, 2011

Cinnamon Snap Cookies


Oh look. It snowed again. That’s fun.

Yawn.

Have you noticed how many posts of mine are baking? I like to bake…and my baking is wayyyy more interesting to post about than my cooking.

My cooking generally is pretty uninspired and straight forward. Occasionally I get creative.

Baking though? Baking is magic in the kitchen. And delicious. And it makes everyone happy, including me.

Also the lighting at night sucks, and who cooks dinner during the day?

Moving on.

Do you miss Christmas? Christmas seems to give a point to this winter mess. It’s an excuse to curl under a blanket, or sit by a fire. Now that it’s February, winter is all about shoveling your car out of the snow and yelling at the weather man.

These cookies kinda taste like Christmas.

Let me bring you back.

I regret to inform you that I apparently was NOT thinking about taking pictures at all while making these cookies. I didn’t even get a picture of them when they were done! To be fair, they didn’t stay around for very long.

IMG_1033

They were super good. Simply flavored, just as they sound. They’re basically a gingersnap cookie with a very present cinnamon flavor instead of…gingersnap flavor.

It’s a munchable cookies.

IMG_1035

They take a bit of time just because they need to chill for a bit, but then it’s just slice, bake, and eat.

…eat a lot

…quickly

What? They’re munchable…

Cinnamon Snap Cookies

(Adapted from Simply Recipes)

Ingredients

  • 2 cups four
  • 1 1/2 teaspoons baking soda
  • 1/2 teaspoon salt
  • 1 1/4 tablespoon ground cinnamon
  • 1/2 teaspoon ground ginger
  • 1/4 teaspoon ground cloves
  • 1/4 teaspoon ground nutmeg
  • 12 tablespoons unsalted butter at room temp ( 1 and 1/2 sticks)
  • 2/3 cup sugar
  • 1/2 teaspoon vanilla extract
  • 1/4 cup honey
  • 1 large egg
  • cinnamon and sugar for rolling

IMG_1036

1. Mix together flour, baking soda, salt cinnamon, ginger, cloves and nutmeg.

2. Cream the butter and sugar together until fluffy. Add the honey, egg and vanilla and beat until combined (a minute or so).

3. Mix in the dry ingredients until incorporated and the dough is smooth.

4. Divide the dough into two parts, and lightly roll them into logs on a floured surface. The logs should be roughly 2 inches in diameter. Wrap the logs in plastic wrap and place in the freezer for at least 2 hours.

5. Preheat the oven to 350 and line a baking sheet with parchment paper, or simply grease. Mix some cinnamon and sugar on a plate to any sort of proportion you like (the suggested is 1/4 cup sugar to 1 teaspoon cinnamon but i  generally put more cinnamon).

6. Slice the dough into 1/4 inch rounds with a knife. Press each round into the cinnamon sugar mixture, and place on the baking sheet (give them room, the spread).

7. Bake for 10-13 minutes or until they are a dark golden-brown. They burn pretty easily so I’d watch out! They become crisp when cool.

This recipe makes A LOT (about 4.5 dozen) which is a lot of slicing and baking. You can always make a batch and freeze a log for later though!

IMG_1037

Happy munching! (seriously…they’re so munchable)

-Leah


P.S. I swear, it will be warm again some day